Quick Paytm Integration using Golang
- Web
- May 6, 2019
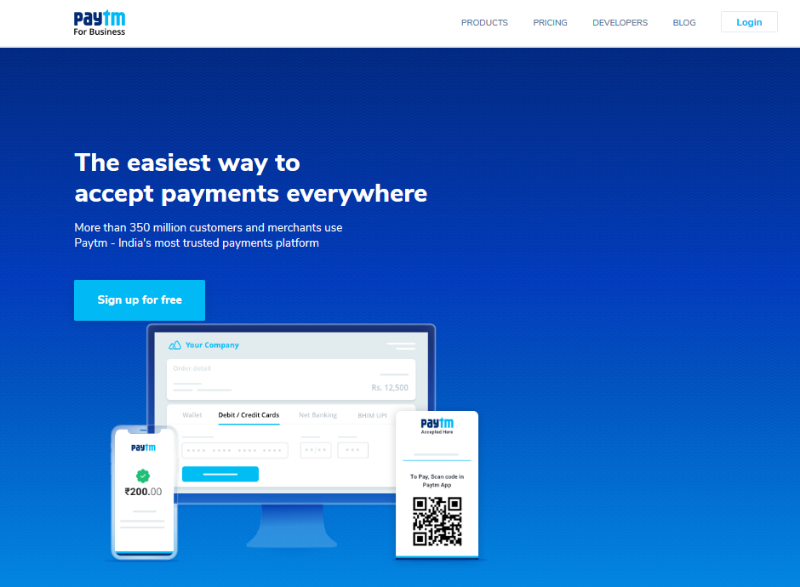
If you are a merchant in India and looking for Payment Gateway to add it to your website, Paytm is India’s most popular and widely used Payment Gateway. Moreover, integrating it your website or mobile app is simple enough if you are already having a merchant account on it.
Though, paytm integration is widely found on various platform, integrating it in the Golang might not be know to all. Here in this blog we are going to show you the steps to follow and how to use this git library for easy and simple integration in the Go Programming Language.
So, let’s go through each the steps to be followed to add Paytm Payment Gateway in your Golang website.
Create a merchant account in Paytm
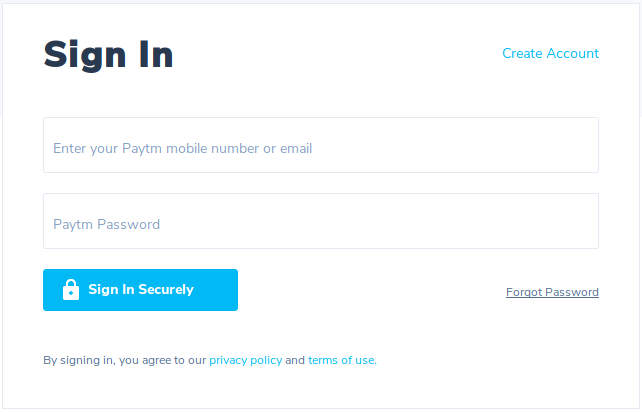
1. Go to paytm website and Login as Merchant.
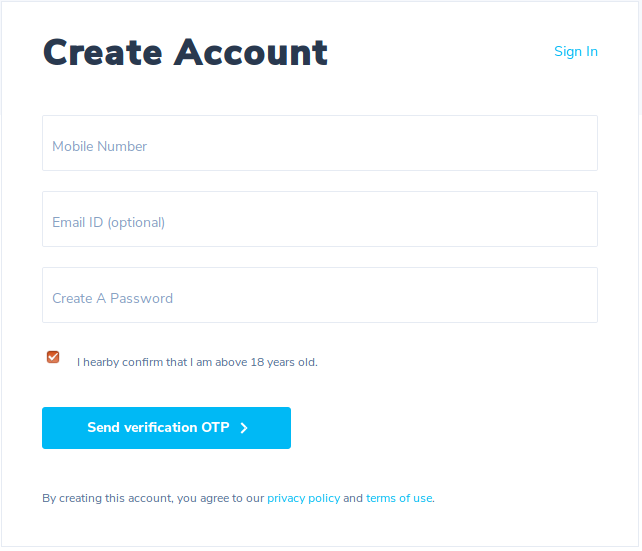
2. If account is not created then click on Create Account.
3. Add your personal info and click “Next” and complete verification process.
4. Once your account has been verified you will be able to see dashboard and in side menu click on Getting Started.
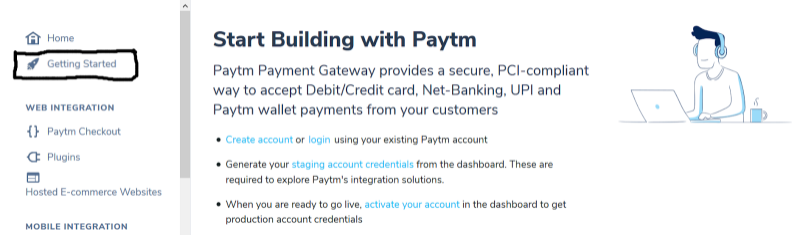
5. In this page you need to creating Staging Account Credentials where you will be able to see 2 options
- Test API Details
1. Test Merchant ID: xxxxxxxxxxxxxxxxxxxx
2. Test Account Secret Key: xxxxxxxxxxxxxxxx - Production API Details
1. Merchant ID: xxxxxxxxxxxxxxxxxxxx
2. Account Secret Key: xxxxxxxxxxxxxxxx
Set Up Merchant Key got from above process
Provide the value for PAYTM_MERCHANT_KEY in .env file. (The value for MERCHANT_KEY will be provided after the onboarding process is completed.)
PAYTM_MID = "XXXXXXXXXXXXXXXXXXXXXXXXXX"
PAYTM_MERCHANT_KEY = "XXXXXXXXXXXXXXXX"
PAYTM_CHANNEL_ID = "WAP"
PAYTM_CHANNEL_ID_WEB = "WEB"
PAYTM_WEBSITE = "XXXXXXX"
PAYTM_WEBSITE_WEB = "XXXXX"
PAYTM_INDUSTRY_TYPE_ID = "XXX"
Verify Checksum Hash for successful transactions.
A checksum hash is generated by the paytm which is verified on merchant server for successful transaction.
For this there is a file library.go in Paytm folder which need to be copy to your local as it it works for generation and verification of checksum.
Set Mode
Paytm integration can be done in two stages i.e. staging and production modes have different Paytm transaction urls.
Staging mode transaction url
PAYTM_TXN_URL = https://securegw-stage.paytm.in/theia/processTransaction
PAYTM_TXN_STATUS_URL = https://securegw-stage.paytm.in/merchant-status/getTxnStatus
Production mode transaction url
PAYTM_TXN_URL_STAGE = https://secure.paytm.in/oltp-web/processTransaction
PAYTM_TXN_STATUS_URL_STAGE = https://securegw-stage.paytm.in/merchant-status/getTxnStatus
Check full source code of Golang-Paytm Integration on Github.