How to Create a Perfect Walk Cycle Animation Easily?
- Gaming
- April 1, 2022
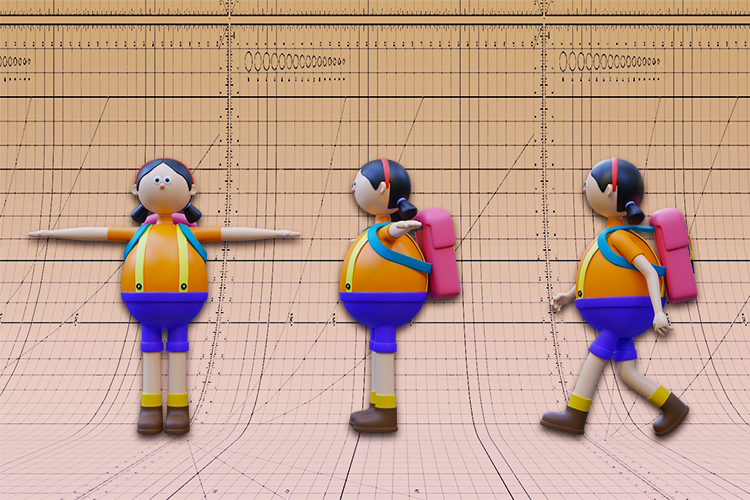
If talking about animation; the most basic process is a walk cycle. Those who have just begun with animation might be facing hurdles to create a perfect walk cycle animation.
I would like to let you know that I have crafted a simple procedure to help you learn and create an apt walk cycle animation. First, let’s get some basics cleared:
What is a walk cycle animation?
A walk cycle animation is a series of illustrations made in a sequence that loops continuously to create the illusion of the character taking a walk.
If you have just taken your first step in the world of animation, then this is one of those basic things you need to be familiar with. A basic thing like a walk cycle is used in everything right from games to commercial films in animation.
Well, having people feel the natural characteristics in your animated walk cycle could be hard stuff to create, but with these simple steps, you can make it possible.
How to create a seamless walk cycle animation with 7 easy steps?
Here you will experience creating a seamless walk cycle animation by following these 7 simple steps, the more you will practice the easier it will become. Let’s begin with it:
Step 1: Create a character
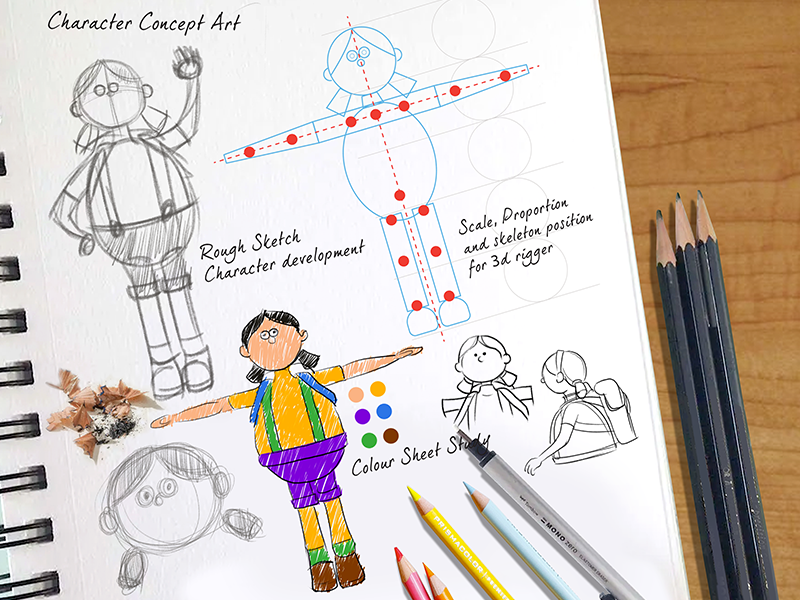
First things first, start with creating a new file. Feel free to choose whatever size you want unless you want to upload it on any platform like Youtube, as the ideal size to upload your cartoon on Youtube is 1920×1080.
Also, changes in frame rate will also be done because generally cartoons are created between 24 to 25 frames per second. 24 is ideal.
After selecting the size, the first step is to sketch out your character, keeping it simple is the best idea because you are creating a walk cycle for the first time.
Step 2: Create the contact position
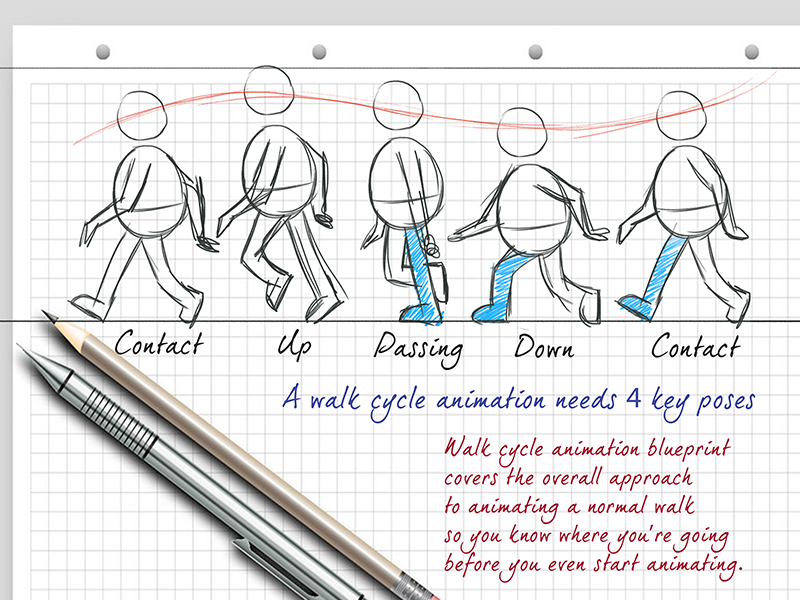
Contact position is the foundation of the proper walk cycle animation. This is the first of the four key positions we are talking about. This position is the start as well as the end of each step, this position decides the posture of your character’s walk; how is it going to look.
In contact position, the front leg is at full extension and its foot is about to contact the floor, the back leg is also in contact with the floor but the heel of the back foot is lifting up.
Here hyperextension has to be avoided, neither do you want to make it walk with absolutely straight legs. Keeping the legs a little bend is what you are looking for and it avoids popping in knees, too. The body weight should be properly split between each leg.
Step 3: Next is down position
The second position of the walk cycle is the down position, this is the position where all the weight of the character’s body moves down to the contacting foot. This is the lowest position of the walk so you can execute the weight going downwards by dropping its hips.
However, you need to ensure that you don’t overboard it. Try to make it look natural, the way humans walk in actual.
Step 4: Next up is creating the passing position
This is the position where your character’s legs pass each other. This position is somewhat similar to the first position which is the contact position, the only difference here is the legs are reversed in the passing position.
In this position, the weight of your character’s body starts coming up, so to maintain balance, the weight needs to be shifted over the supporting foot. The back foot is off the floor and it is supposed to pass through the front foot.
Step 5: The last of the four: Up position
The last of all four is the up position which is also known as the falling point of the walk. In this position, the character is on the highest point of the walk so the leg is landing forward to plant the foot on the floor.
When it comes to adjusting the weight of the character, it should be leaning forward and the heel of the back foot should be off the floor, it should be partially lifted up.
As and when your four key positions are all set, you have got to replicate the same process with the opposite leg.
Step 6: Here comes the part of refining the whole character
Now that you have blocked all the positions for your character. So let’s get you started with the refinements.
Refine up-and-down weight:
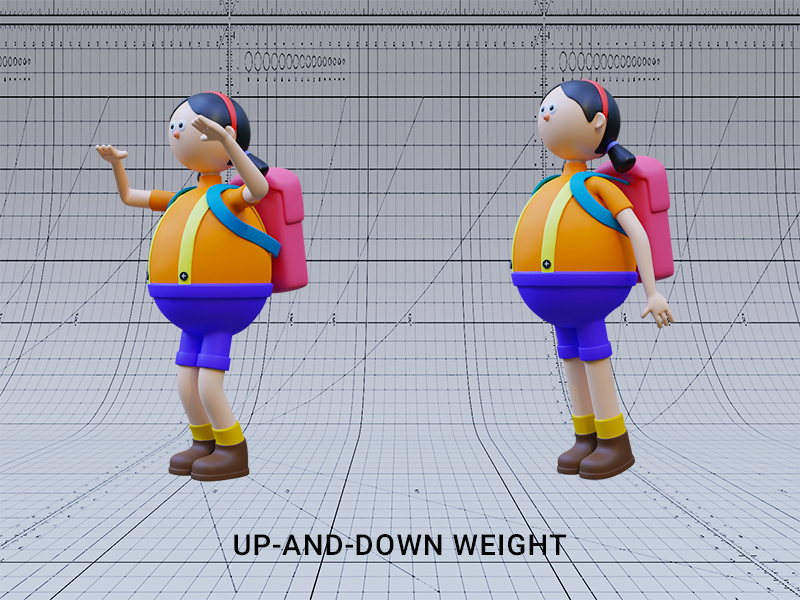
Do the refinements with the character’s hips by considering it as a bouncing ball, adjust the up-and-down parameter for the root control.
This will probably affect the legs but feel free to do every required change as you should be assured the refinements are being done before fixing the legs.
Refine side-to-side weight:
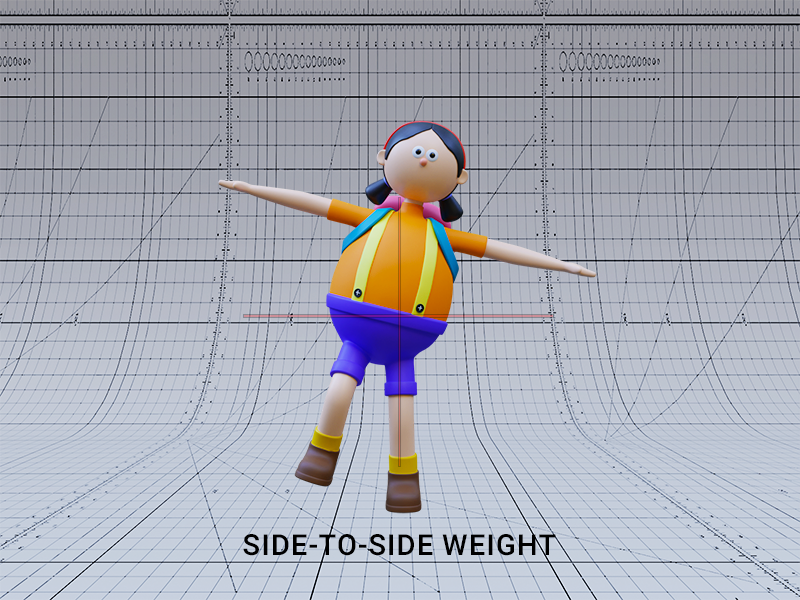
Here you need to ensure that the spacing is proper due to the adjustments in the curves. The best practice is not to add extra keys in the graph editor as you can make it look rational just by working smartly on the tangent handles.
Moreover, always try to have hips right above the planted foot just to ensure the balancing is done aptly.
Refine the movement of the chest and arms:
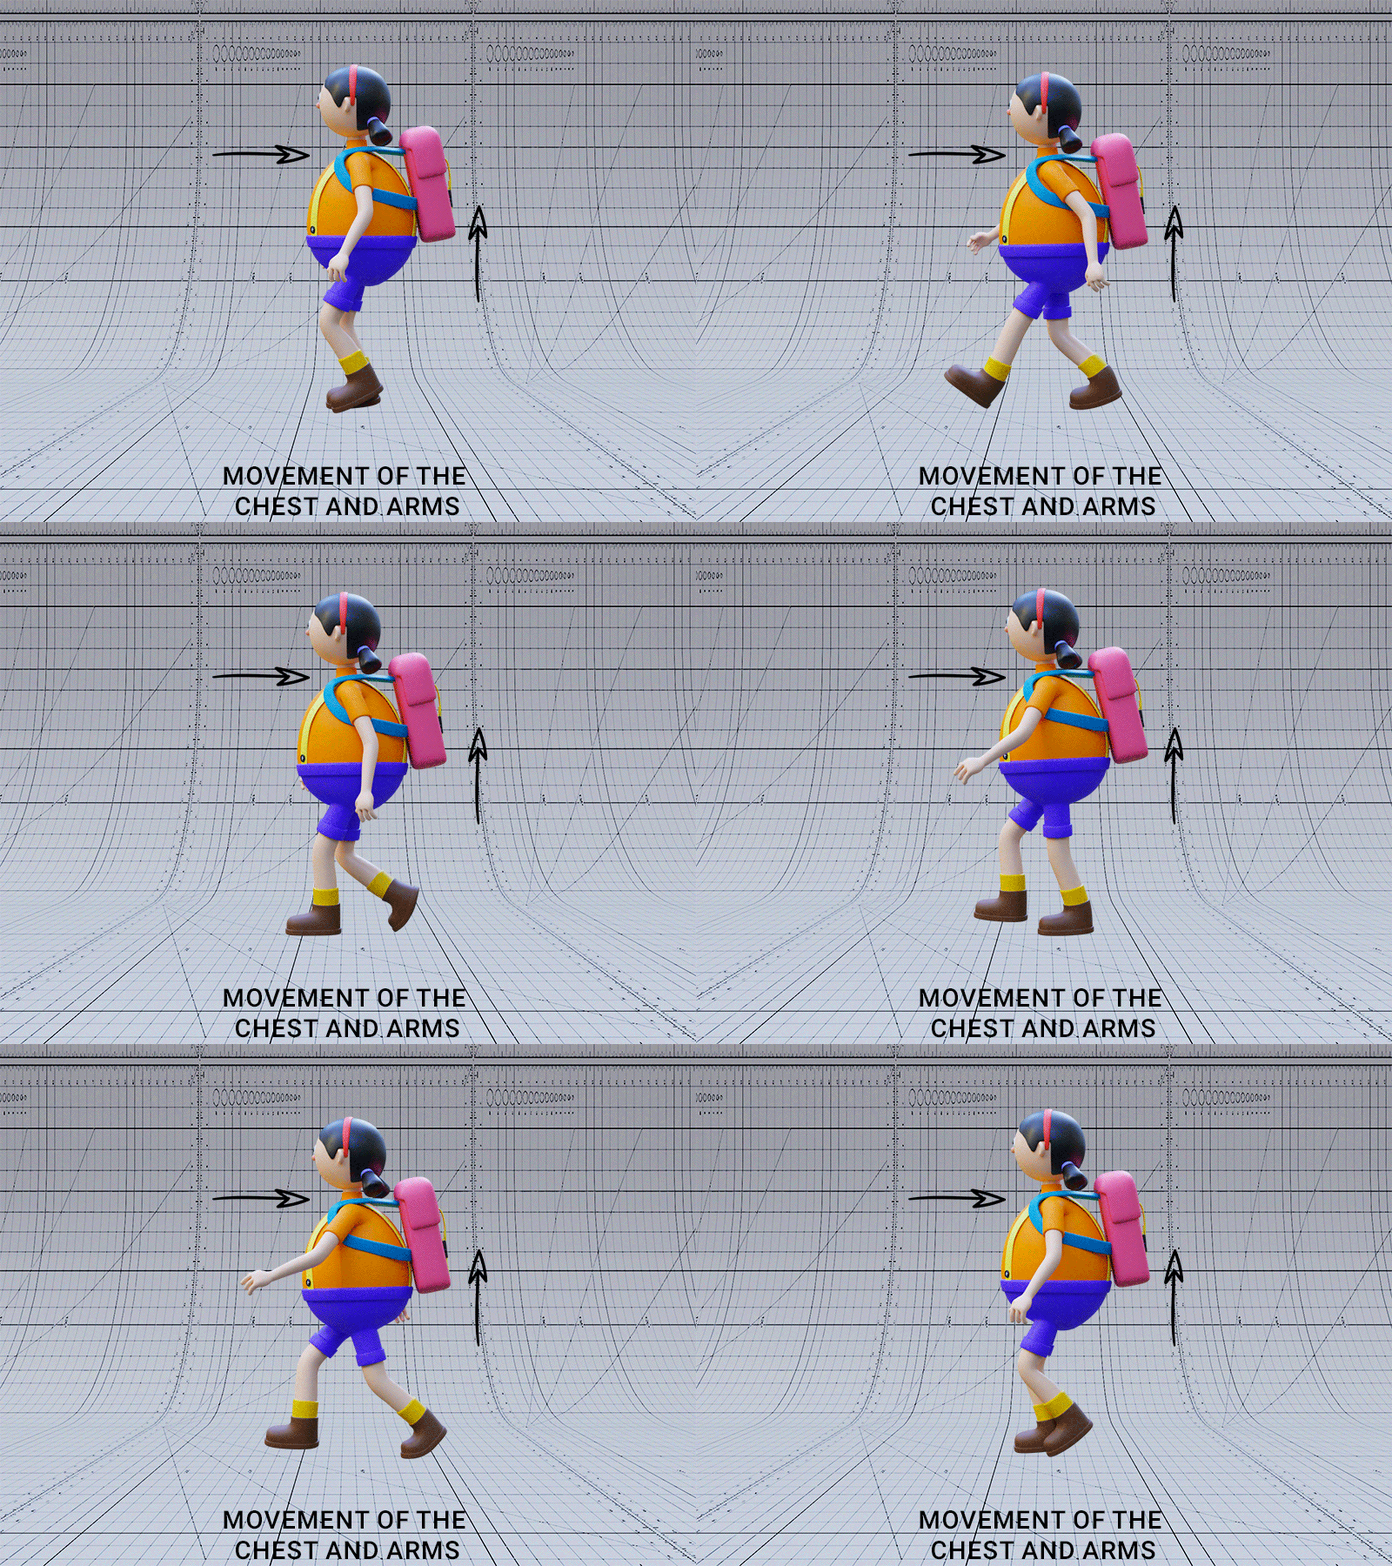
The upper body of the character adds a new life to it if the rotations and movements are done correctly. You can refine the movements of the character’s chest according to its whole body. While creating a walk cycle; arms do move, and so does the chest. So choose the right movements and rotations.
You can add lead and flow to the arms of the character. You can do some experiments to add liveliness and attitude to your character. Make sure you are making the most of every chance to do the refinements.
Fix the popping in knees:
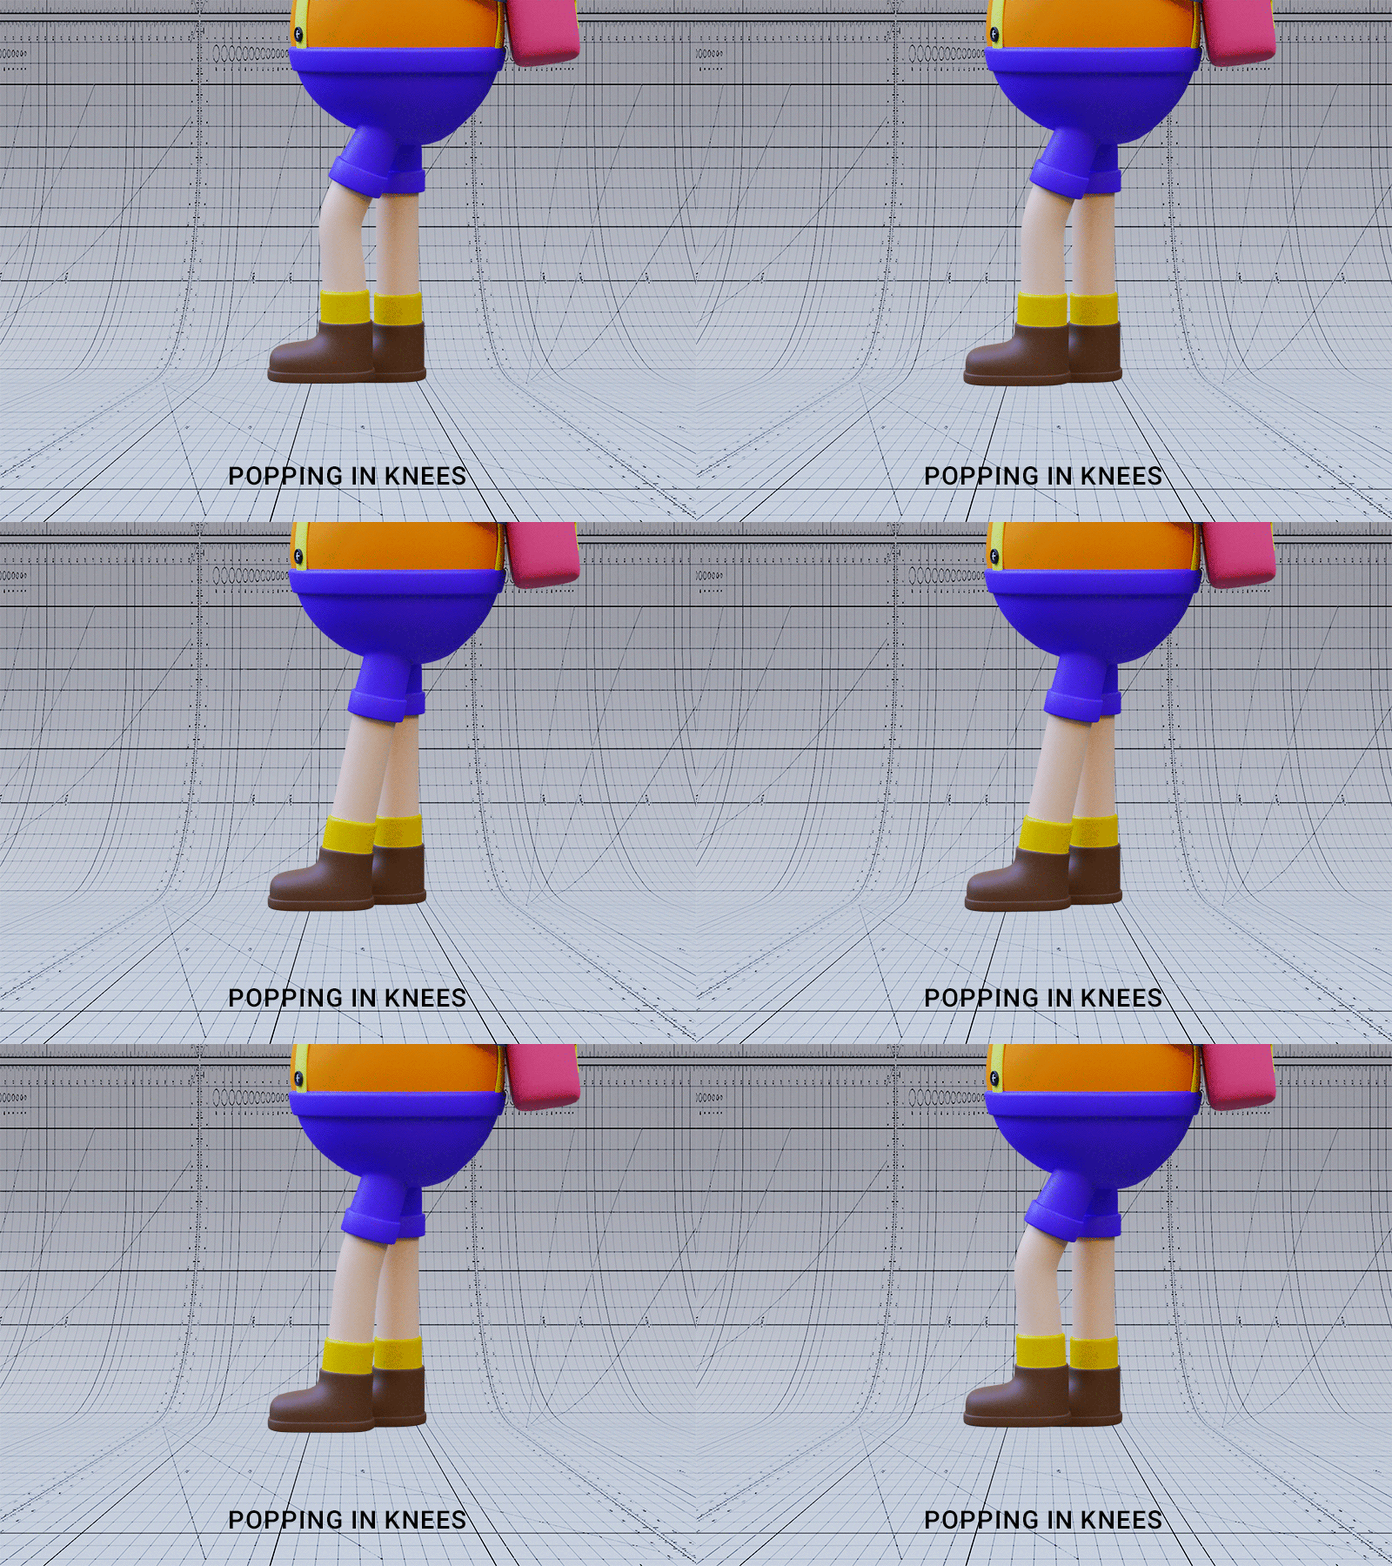
You can slightly stretch the leg or shrink it to avoid knee popping. You can also do work on hip control to avoid the same.
Flutter the feet:
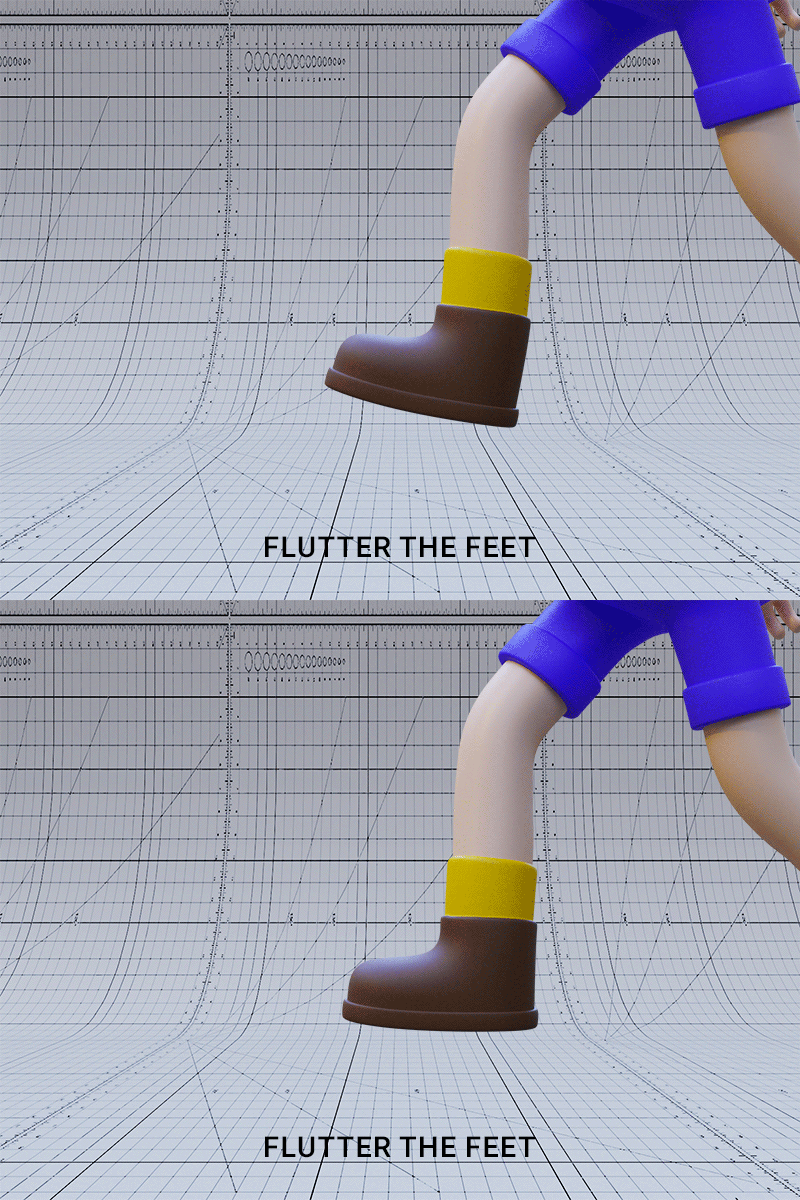
The feet should be lifted from a raised position to flat between 1 or two frames.
Step 7: Fine-tune the walk cycle
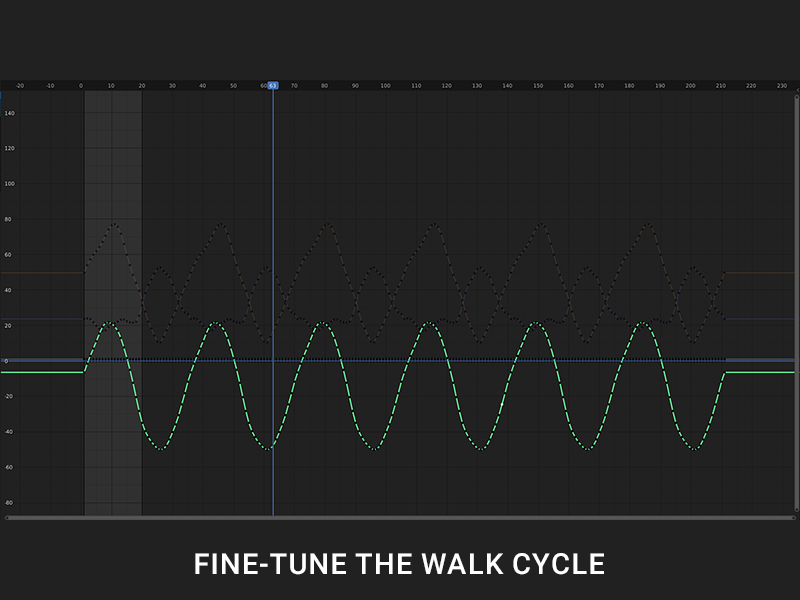
So, last but not least is to do some alterations in your work if required. Here are some points to polish up your walk cycle animation:
- Adding fine details in 4 key positions can bring some desired change
- Verify all the arcs of the feet and hands
- Adding movements in the head and fingers can make your character look more human-like.
Bingo! We have successfully created a perfect walk cycle animation with these 7 simple steps!
3 points that will take your walk cycle animation to the next level:
We want it to be easier for you! Here are 3 points that you should take into account while carrying out this process:
Movements of legs and arm
Always ensure that your character’s arms and legs on both sides are moving in the opposite direction of each other. For example: if the left arm moves forward then the left leg should move backward.
Simultaneous movement
The movement of the body starts either from the pelvis or torso, the rest of the parts just follow suit. Hence, synchronization in movements is not required. With this point bearing in mind, animators can create a more human-like walk cycle.
Moving walk cycle mistakes
In animation, there are generally two types of walk: first is when the character moves from one point to another and the background remains stagnant, second is vice versa.
When animators have to create a walk from point A to B, the common mistake performed here is a looped walk which makes a character’s walk look unnatural.
Creating key poses here is something that works befittingly. The next step is to mark the furthermore steps of the character to the end of the frame. You can also draw a few more steps in the middle of the walk to make it look more consistent.
Wrapping the stuff
Creating a human walk cycle is a bit difficult but achievable by following this procedure. Once you have gotten a hang of it, you are more likely to do some alterations yourself to brush it up and add value to your animation.
Keep performing this process and you will master it!
FAQs on Walk Cycle Animation
In general, a walk cycle consists of 8 frames.
In the walk cycle, the back foot touches the ground. In the run, the back foot has already been raised from the ground when the front foot contacts. In a run cycle, the body leans forward more.
There is no fixed answer to this question as the time it takes to design a walk cycle animation depends on many things, like the skill level of the designer, the complexity of the walk cycle, facial expressions, etc.
